Chocolate Cupcakes (pg. 152 in MS cupcake book)
This was the first time I've actually used buttermilk usually I substituted sour cream for it, but I think the buttermilk really makes a difference. They were very moist.
The Goods
1 1/2cups flour
3/4cup unsweetened dutch-process coca powder
1 1/2cups sugar
1 1/2teaspoons baking soda
3/4teaspoon baking powder
3/4teaspoon salt
2lg eggs
3/4cup buttermilk
3tablespoons veg. oil
1teaspoon vanilla extract
3/4cup warm water
The How To
Preheat oven to 350degrees. With an electric mixer on medium speed, whisk together flour, cocoa, sugar, baking soda, baking powder, and salt.
 |
| I got all the ingredients together and pre-sifted before I put it in the mixer |
 |
| FYI this is not a super thick batter |

Bake, rotating halfway through, until a tooth pick inserted in centers comes out clean, about 20mins. Transfer tins to wire racks to cool 10ins; remove cupcakes from pan and let cool completely.
 |
| Look at that dome action!!! |
The Goods
5lg eggs whites
1cup plus 2tablespoons sugar
Pinch of salt
1lb unsalted butter, cut into tablespoons, room temp
1 1/2teaspoons vanilla extract
4 1/2 oz semisweet chocolate-melted and cooled
The How To
Combine egg whites, sugar, and slat in the heatproof bowl of a standing mixer set over a pan of simmering water.
 |
| Before I boiled the water I took the bowl from the mixer and figured out how much water I needed so the water wasn't touching the bowl |
 |
| And here is my double boiler |
 |
| Whisking my little heart out. |
 |
| unfortunately the mixer was moving way to fast for my camera :( |

With the mixer on medium-low speed, add the butter a few tablespoons at a time, mixing well after each addition.
 |
| I had my trusty butter added on hand. As you can see he takes his job very seriously!! |

 |
| Taste tester approved!! |


Now that you have the major parts of the project ready you will need to make 12oz of toasted sweetened coconut. Preheat oven to 350. Spread coconut evenly onto a rimmed cookie sheet. Toast and stir occasionally until it starts to turn brown about 10mins.
 |
| Not realizing that I only needed 12oz, I ended up toasting the whole bag. |
 |
| Good thing I like coconut!!! |
 |
| This was the closest thing I could find to a all brown cupcake liner. |

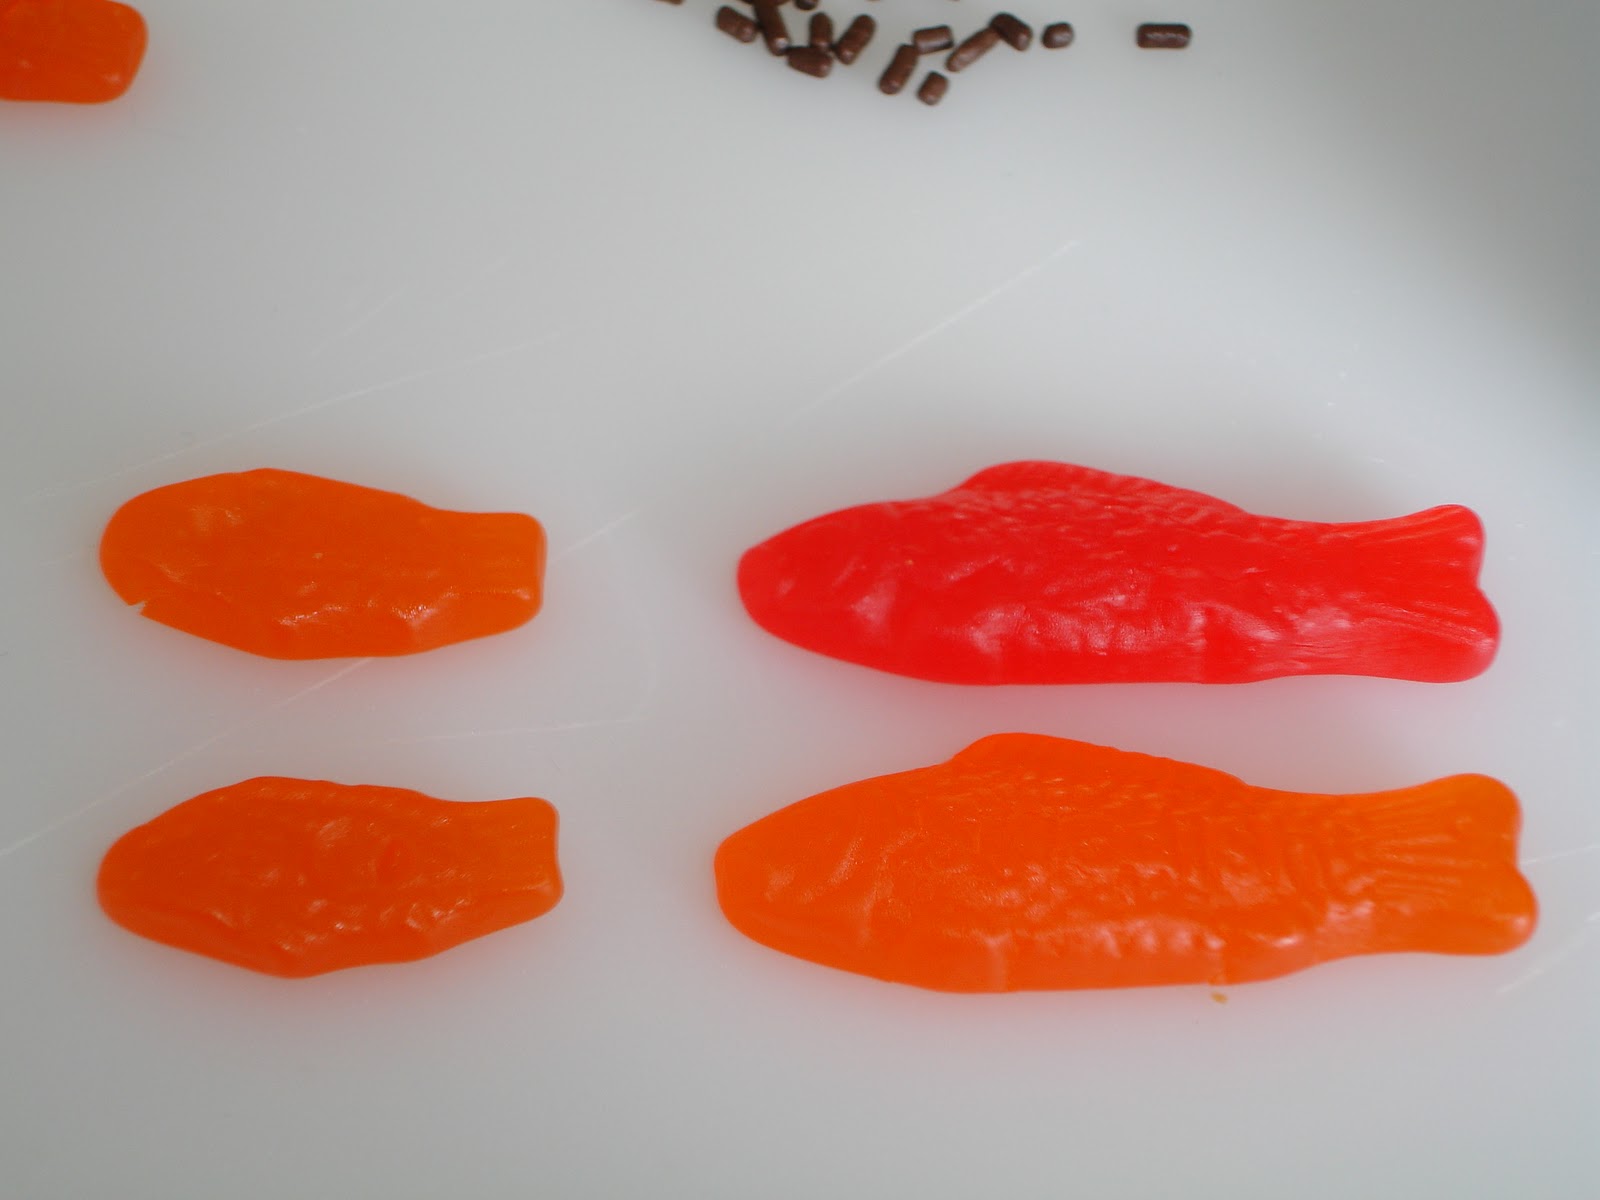 |
| I found my fish in the bulk section of Haggens. |

Cut up some orange gummy fish (this is where I used the small fish) in half or in my case cut off just the tails and push half the gummy into each marshmallow for a beak. I found it easiest to take the toothpick and make a whole before inserting the gummy.


Now that you have your turkey heads ready insert a tooth into the marshmallow, this will keep it from falling off the cupcake. Now press marshmallow heads onto cupcake.

Take 5 gummy fish and press them into each cupcake to make tail feathers. I used the larger gummy fish for this also cutting the tails off so this only took 3 gummy fish per cupcake. I then took the left over fish tails and gave poor little turkey wings.
 |
| much better with wings |


And there you have it!!! Decorated cupcakes can be stored up to 1 day at room temp in airtight containers.
Up Next...
Sweet Potato Cupcakes
Congratulations on being the first to post! Your cupcakes look adorable. I'm so glad you could find the coconut marshmallows!
ReplyDeleteAdorable and I love the wings too!
ReplyDeleteOh those are so cute! I'm sad I didn't get to make them for Canadian Thanksgiving. Somehow I think people would have given me weird looks if I made them now. Mine were pretty tastey anyway.
ReplyDeleteohhh so it is possible for these to turn out ;) they look cute!
ReplyDeleteThese look sooo good! I especially love your detailed instructions and step-by-step photos. Great blog; good luck getting to 101!
ReplyDeleteVery cute. Great job!
ReplyDelete